If you follow me on Facebook, you'll know that I am a COMPLETE stickler for proper grammar.
I simply despise the misuse of the English language, and often (subconsciously?) lose respect for those who use the language poorly.
Facebook is a great example of a venue where our traditional grammar rules are used less and less efficiently.
Today alone, I've seen the following: (text altered to protect the guilty parties)
1. Commas used as ellipsis - "My husband came home,,,finally!"
2. The word "awe" instead of "aw" as a reaction to something - "Awe! So cute!"
3. Unnecessary extensions of words that end up weakening their meaning - "Awwweeeeee! So cute!"
(who says "ah - wee"?)
4. The famous misuses of "your" and "you're" - "Your right! I DO love this game!" (Is that my right or your right?)
4b - "Hey Kevin! I have you're French textbook! Call me!" (Poor Kevin never knew that he was a French textbook.)
5. The improper use of apostrophes (remember, apostrophes ONLY show ownership or a contraction) - "I saw Shannons Facebook status" (how many Shannons are there in this sentence?)
5b - "I scored three goal's last night!" (Apparently the last night belongs to those lucky goals!)
I truly LOVE the English language. In fact, I earned an English degree in University.
I'm an avid reader and constant corrector of grammar. I DO judge people on their incorrect use of grammar - I just can't help it! Is that really so bad?
Do you have any grammatical pet peeves? Any opinions on this post? Please comment below!

Artsy Observations, Art Journals, Life with Cats, Adventures in Food, My Take on Decorating, Indie Crafting, Jewelry-Making, Creative Bookbinding...
Monday, 29 April 2013
Wednesday, 24 April 2013
A Handmade Journal from Supplies On-Hand
This Mother's Day (it's coming soon, you know...), how about saving yourself some money and using up some of your craft supplies?
Sound good?
I think so too!
Today I'm going to show you, step-by-step, how to make this cute handmade journal.


Supplies:
1. Two or three different colours of felt, one colour must be 8.5" x 11"; the other colours can be scraps
(dollar store, 2 for a dollar, if you don't have any on hand!)
2. An 8" x 10" piece of thin cardboard (I used the back page of a writing pad. Another option would be a cereal box.)
3. Embroidery threads in colours to accent your felt (I used two different colours). Again you can get this from the dollar store, usually 10-12 colours for a dollar.
4. A variety of papers (Scrapbook, recycled, plain colours, etc.) You will need 20 sheets for this project. We will start with an 8.5" x 11" size and trim them.
5. Decorative trim or ribbon - an 8.5" piece that will be trimmed down.
6. Sharp scissors
7. A needle for sewing your cover and for the embroidery floss
8. White glue
9. Two binder clips
10. A hammer and small nail
11. Sewing machine (optional)
I think the supplies list seems like a lot, but I do believe that you'll be able to collect most (if not all!) of these items from around the house!
Let's get started!
To begin, figure out what you'd like on the cover of your journal. Here I cut out two hearts and stitched them together roughly using embroidery thread.
If you're not so good at cutting shapes, try tracing a cookie cutter with a felt pen. Then you can flip the fabric over and use the "good" side!
The two panels of felt (mint and brown) will be the inside and outside covers of my journal.
 |
I machine-stitched the hearts to a felt circle.

You can see the white thread over the mint felt.

I planned out where I wanted my heart to go on the cover, then stitched it down onto my front cover sheet of felt. For the outside cover, I chose the mint green. The brown that I had chosen will be the inside cover.

You can see that my stitching isn't perfect, but it really doesn't stand out in the finished product. Don't be too hard on yourself if your own stitches aren't just right.

I then chose a contrasting thread colour and decided to make some starburst lines going from the center out.
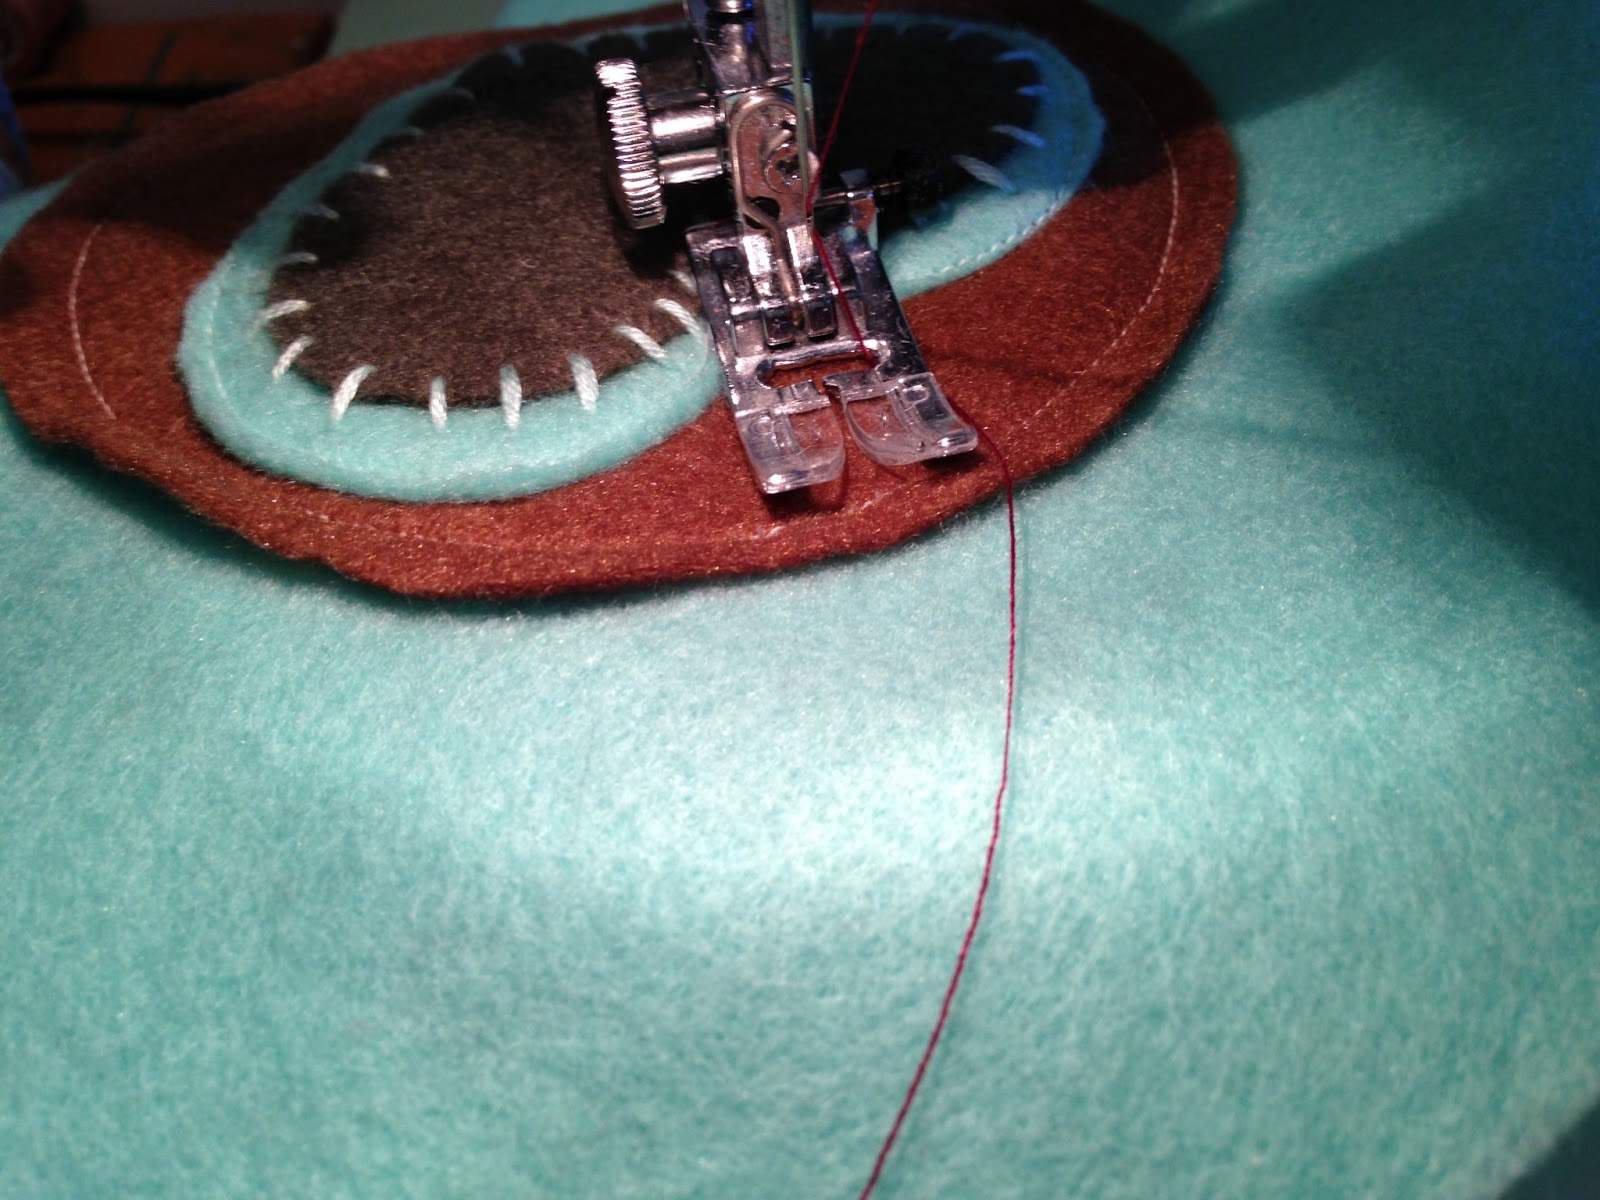
I literally did this using the reverse stitch button on my machine. I tried to make each "burst" a different length.

The I grabbed my other full sheet of felt (the brown, inside cover) and placed it on top of the outer cover (right sides together).

I sewed around three edges, leaving the right-hand (main front cover side edge) un-stitched.


Then I measured my cereal box cardboard to the stitching. The cereal box cardboard will fit INSIDE the stitching, so I cut it to size before inserting it in. See the image below.

Then I flipped my three-sides-sewn felts right side out. You can see the nice, clean seam on the edges.
However, the corners needed a little attention.

I poked a pencil into the corners to make them nice and pointy.

Then I slid my cardboard into the "sleeve."


I chose a decorative trim for a little more "fun" on the front cover. Since I was going to have to stitch that side closed anyway, I figured that it was a good opportunity to add something of interest.

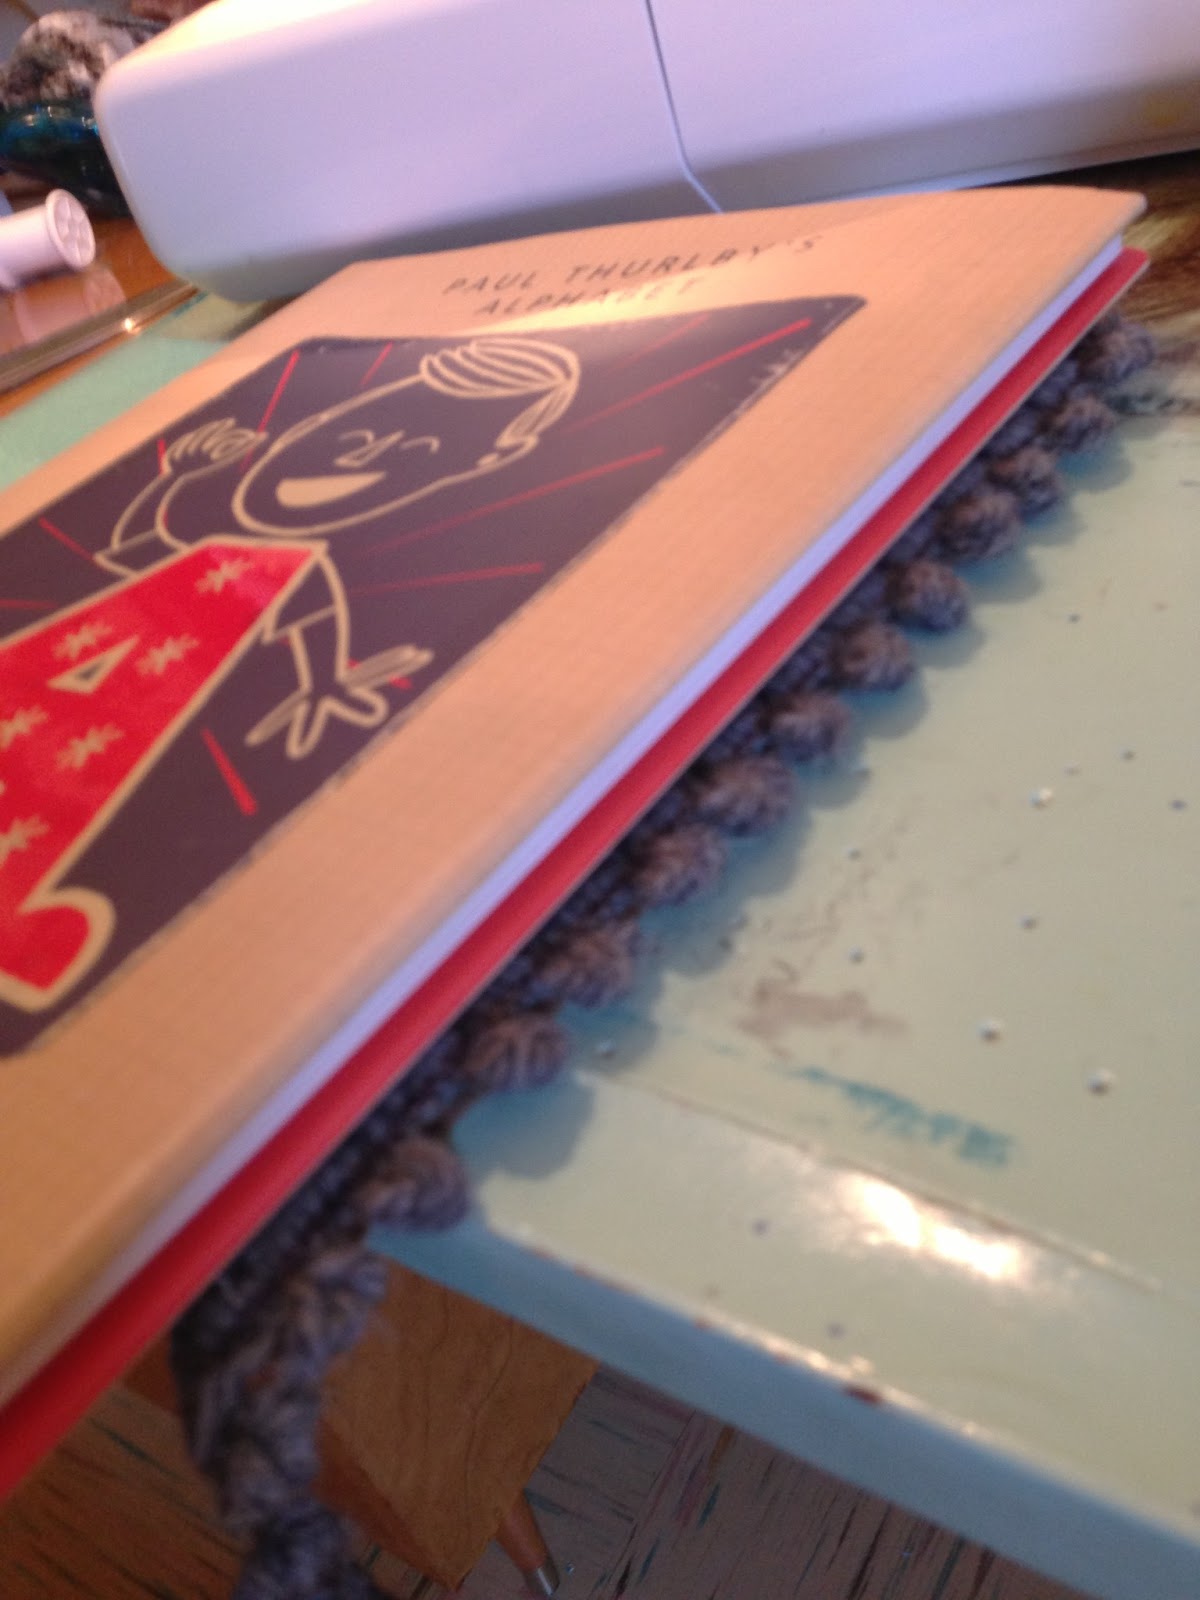
I decided to glue the trim down first (using a scant amount of white glue, as shown in the photo). This way I knew that it wouldn't shift during sewing.


I placed a book over top of the glued part so that it could set and really sink into the felt.
While I was waiting for my glue to set, I took some time to choose some nice papers for the inside of my journal.


Notice that all of my papers are different sizes. This is common in all of my handmade journals. I like having little half pages and layered pages.
I chose ten papers and folded them together into what is called a "signature." See what I mean about the different sizes of papers and the layering? Neat, right?

Then did it all again, choosing another 10 papers and folding them to make a second signature.

Here are my two signatures (10 papers = 20 pages = 40 faces)
The papers that I chose are quite thick, so my 40 pages really is enough for this journal. You can vary your journal as you like, but I've found that the paper edges tend to get a little messy if you include more than ten sheets per signature.
Note: if you are going to make a thicker book, then you will have to include room on your covers for a larger spine.

Here's another shot of my papers and signatures.

I then grabbed a piece of scrap white paper and made myself a guideline for my stitching/binding holes.
(That's right! We are going to hand-stitch our papers to our cover!)

My papers, from top to bottom, measured 8". I wanted three binding holes (this makes the stitching really easy, but strong, too). I marked the centre (4") and then 2" from the centre on each side (2" and 6"). I used a hammer and nail to punch these holes into my guide paper.
(Real bookbinders use an awl to create these holes, but in case you don't have one of these specialty tools, a hammer and nail will do the trick just fine! On this day, I couldn't find my awl, so I used the hammer and nail technique.)

I clipped my pages together on one outer edge, then gathered my hammer and nail to begin punching holes.

I set my guide inside the first signature, and hammered my nail through fold of my signature in those three places on my guide. I then removed my nail and went on to poke holes the same way in the other two places.

I double-checked that my holes had gone all the way through all ten sheets of paper in my signature.
Note: make sure that you have an alternate surface on your table, as the nail WILL go through your signature and into whatever surface you're working on!

Then I moved the guide to my second signature and punched three holes in that one.

Back to the cover: my glue had set, and I was ready to sew my trim on permanently.

I followed the lines in the trim to make it a nice, straight edge. I also made sure that the back cover was sewn in during that same stitched line.

Then I chose an embroidery floss colour that went well with the journal. This thread is what I used for binding the book, and adding in my signatures.

I measured twice the height of my book for the length of floss that I used.

For binding the book, I tucked my first signature into my cover, lining it up so that I had an even amount of cover on either side - essentially centering my signature from top to bottom).
I put my needle into the centre hole of the inside of the signature, and pushed it all the way through the signature and cover so that it came to the outside of the cover.

I then went back through the outside cover and into the outside of my signature into the top hole, bringing the needle inwards towards the inside of the signature.

My thread was on the inside after that last step, as shown in this photo. You can see that I left a tail after my initial stitch - this is important.
Then I took my thread to the bottom hole and again went through the signature out to the outside of the cover.

The outside cover should now look like this. Bring the needle back through the same holes that you used for the first stitch, through the centre of the cover and signature.


You'll end up with two tails in the middle of the inside of your signature Make sure that you pull the threads taut so that there is no slack in between the stitches. Tie a knot, and snip off the ends neatly, as shown in the photo.

Repeat this for your second signature, but this time position your signature so that it is no more than 1/8" away from the first one. This will ensure that your pages line up and that your journal closes properly.
Once the signatures are sewn in, you can remove your binder clips.
Now you can fold your cardboard over and crease it with your signatures fastened inside.

Look at all of the pretty papers!

I LOVE how the starburst goes over the spine.

Here's a great side view.

And here is my spine showing the starbursts going over to the back cover!


I hope that you enjoyed this tutorial and that you learned some new techniques.
This is really the basis of bookbinding. Once you've mastered these steps of creating signatures and stitching them into a cover or spine, you can take your bookbinding to amazing levels by using special stitches, different covers, and more!
Play around with materials using the same techniques that we used in this journal.
For example, you could make a tiny journal using playing cards as the covers, or use a vintage hardcover book as the cover, pre-poking the holes into the spine for stitching in your signatures.
If you have questions, please feel free to post a comment or email me!
As always, I have loads of journals in my etsy shop.
Thanks for reading!
Subscribe to:
Posts (Atom)